Day 5
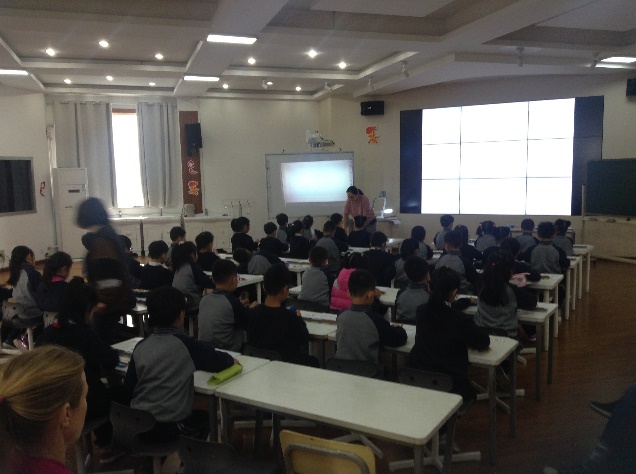
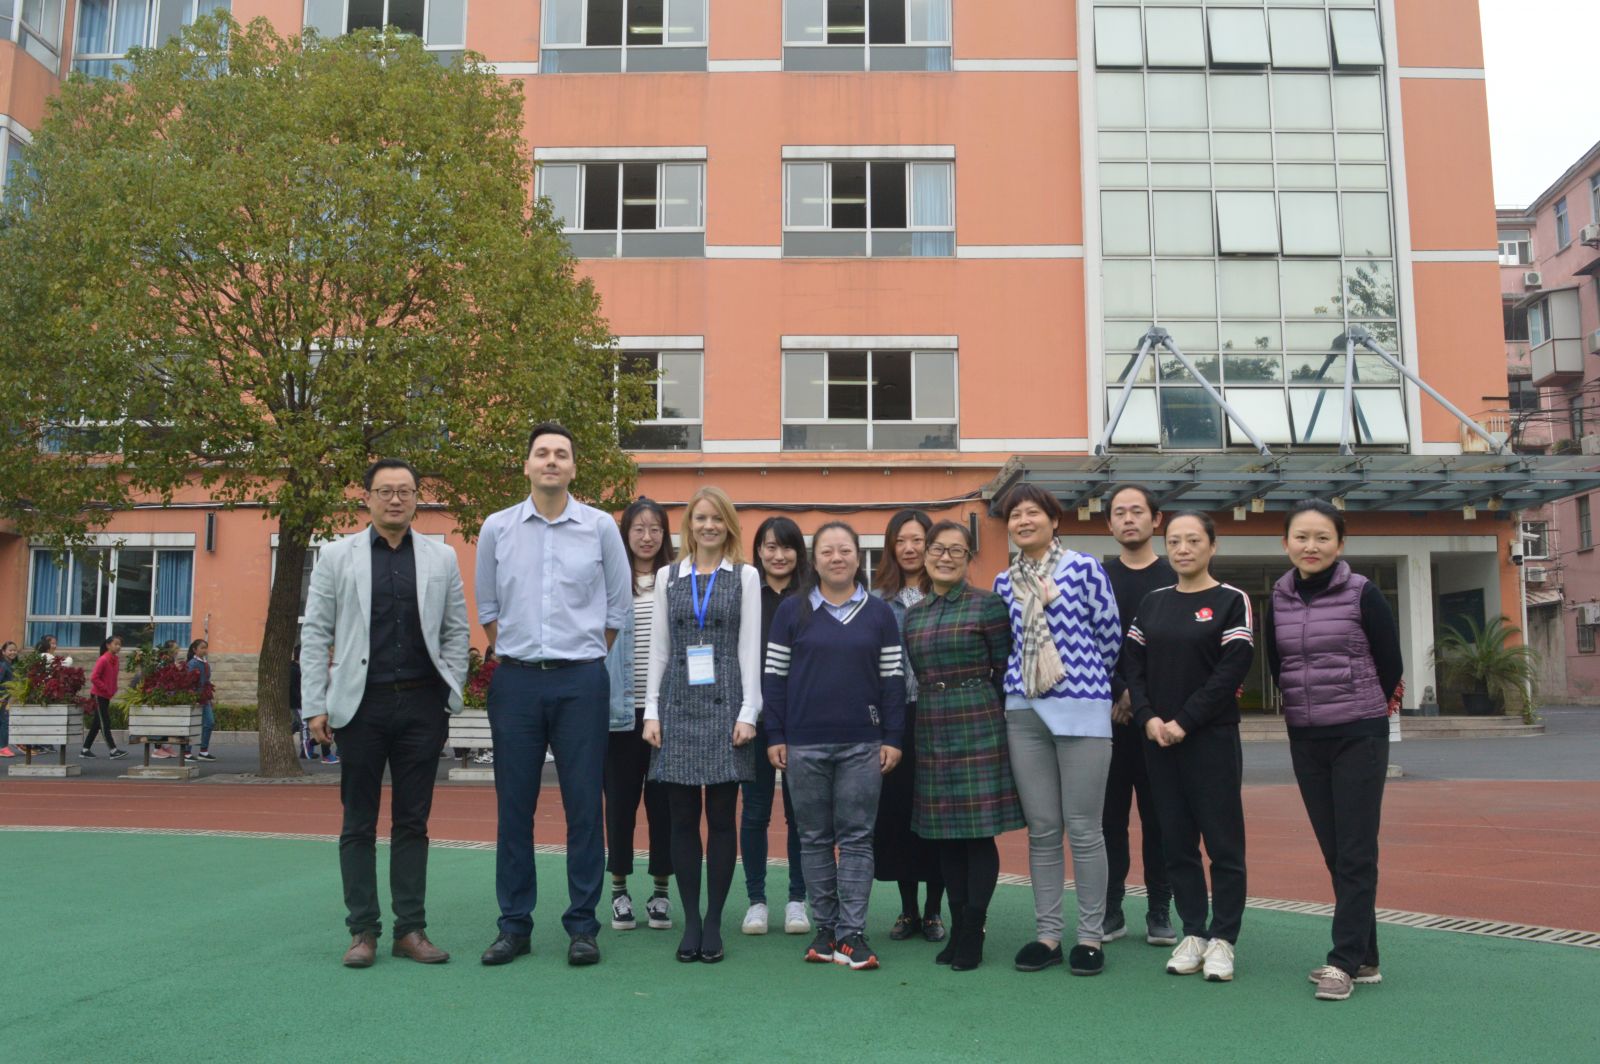
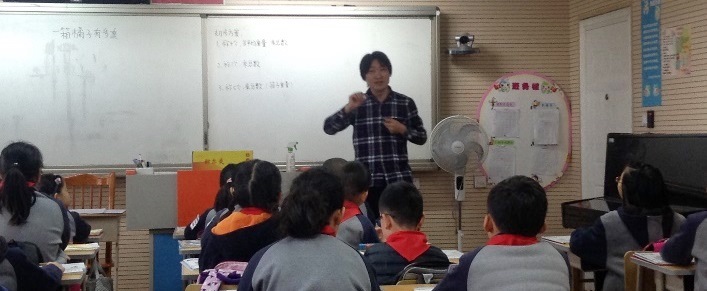
Today we arrived at Pingnan Primary School where we were warmly welcomed by our host, Louise, and her colleagues. We begun our day with a grade 1 lesson which focused on addition to 20. We were told that the children had only calculated within 10 before and this would be their first day adding numbers which totalled more than 10. This lesson was also a prizewinning lesson so we were really excited to see the learning journey!
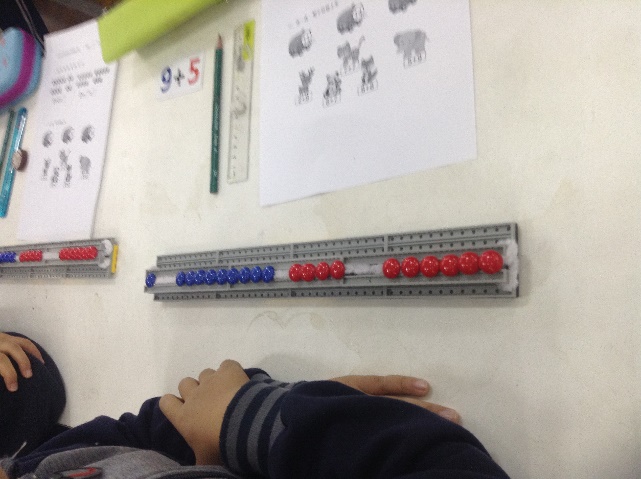
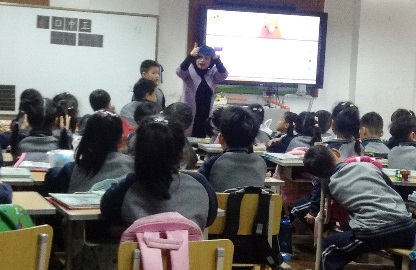
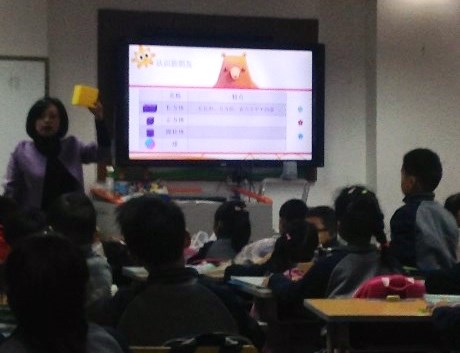
When we got to the hall, tables were already set up with resources which we later learned had been designed by the teacher! The teacher asked the children to put 9 blue beads to the centre and 4 red beads to the centre with a little gap between the red and blue beads. This resource was then left to the side until needed later in the lesson.
The lesson began with a warm up game – teacher said a number and children had to show that number on their fingers. They represented the numbers using the “5 and a bit” relationship which was key to the next 2 activities.
.jpg)
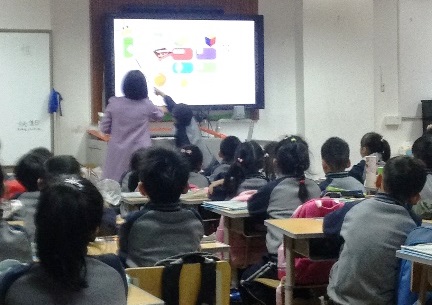
The teacher showed a picture of counters on the board and children had to say what the number was. The picture only flashed up for a second or two but the numbers were represented in a way that children could quickly identify the number.
The first picture is 7 which is represented as a row of 5 then a row of 2.
The second picture is 13 represented as 2 rows of 5 and a row of three.
.jpg)
The teacher then showed the equation 5 + 5 = 10 as an equation to help children with calculation. She asks them where they can find this equation on their body e.g. hands.
The teacher then explained that today’s topic is addition to 20 and showed the following calculations:
6 + 6 =
7 + 7 =
8 + 8 =
9 + 9 =
One by one the children solved each equation using their hands. For 6 + 6 they make 6 with 5 fingers on one hand and one on the other. They are then told to double both hands so that the calculation becomes double 5 + double 1.
.jpg)
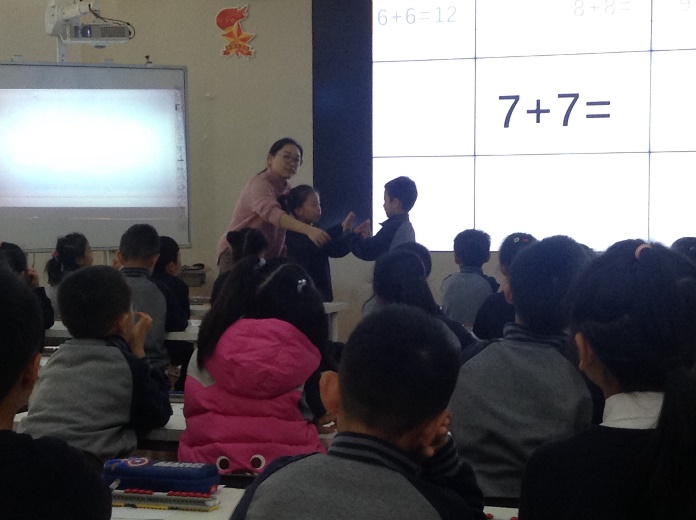
The teacher asked different children to explain each equation and they were encouraged to use the stem sentence: 5 + 5 = 10 and 2 + 2 = 4 (or relevant number) so the total is 14.
The teacher also took pairs up to the front to demonstrate this method together. The pair stood facing each other with their hands against their partner so that the number of fingers on each hand was doubled. This was a lovely concrete way of showing the calculation! The children continued to use the stem sentence as above.
The teacher explained that this is one way to do these calculations. She now asked them to imagine the number without using their fingers and asked them to visualise the calculation. They discussed how one of these calculations could be done mentally. It was so clear to see the move from concrete methods to abstract learning.
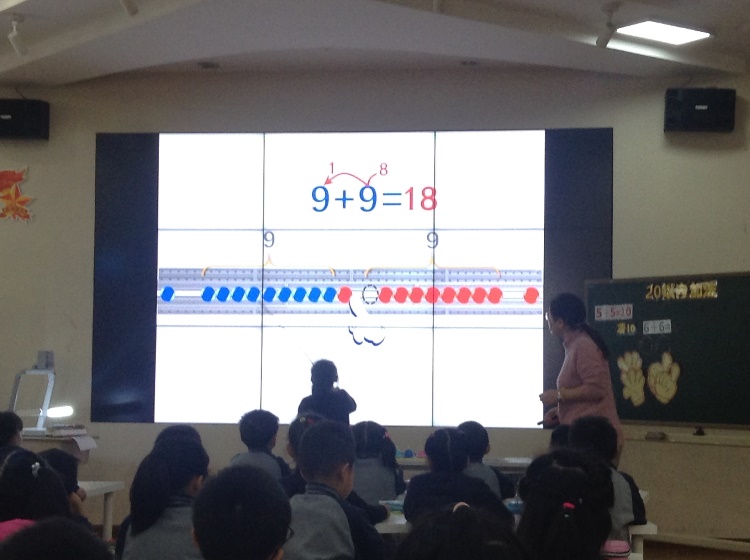
Then the teacher showed the calculation 9 + 9 = and asked pupils for another way to solve this. A pupil suggested a method which we would call bridging through 10 or a “make 10 strategy” : 8 + 2 = 10 and another 8 is 18.
The teacher showed a representation of this on board – see photo. The representation uses colour to show how a red bead joins the blue beads to make 10 and then the other red beads are added to make 18.
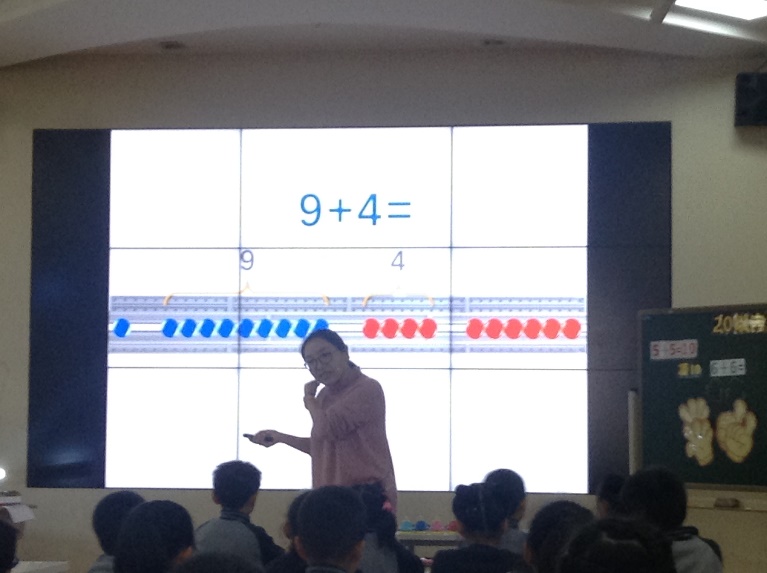
The teacher then discussed with the class the difference between the two methods. The doubling method works when the two numbers are the same. The bridging method works well when one number is 9 and a different number is being added. The students were clearly being encouraged to consider why each method was more effective than another in a certain situation.
The teacher asked children to do 9 + 4 and brought a child up to the board to explain how to work it out using this “make ten” strategy.
The children then worked out the same question using another method – add one blue bead and take away one red bead. Therefore the calculation became 10 + 3. Children discussed this with their partner.
More practise was then carried out on the bridging through ten method.
A child came up to explain how to work out 9 + 7. He uses the bridging method where he adds one red bead to the 9 blue beads and then adds another 6 red on.
The teacher then puts the equation on the board 9 + 7 = 16 and asks the children if we know this can we also work out 9 + 8 and 9 + 6 . This was a fantastic example of procedural variation and how children are being encouraged to use knowledge they have to work out other calculations.
The first child to offer an answer explained how to do 9 + 6 using the bridging through ten method.
The teacher asked for another method and a girl stood up and explained that if we know 9 + 7 = 16 , 8 is one more than 7 so we can just add 1 on.
Then the teacher showed the following calculations on the board
.jpg)
Now teacher asked them to do 9 + 5 mentally and they can choose the method. A boy explained that you can separate 5 into 1 and 4 and then add the 1 to the 9.
The teacher showed the following picture and discussed the steps which need to be taken.
- First step is to fill in the box
- Second step is to circle 10 (9 from one group and 1 from another)
- Third step is to add 10 and 1
- Fourth step is to explain what they’ve done.
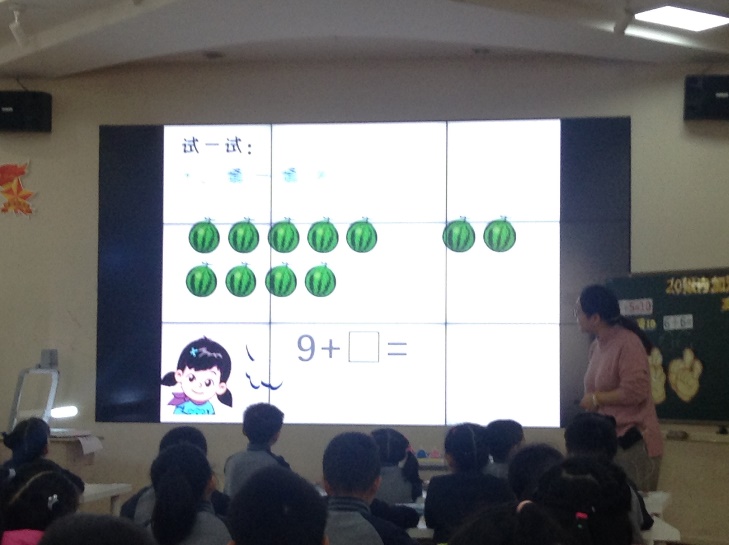
After this they used the same method to practise the following calculations.
.jpg)
The teacher showed 2 children’s work who have both been correct but done it slightly differently. She discusses with the class the methods and why they work.
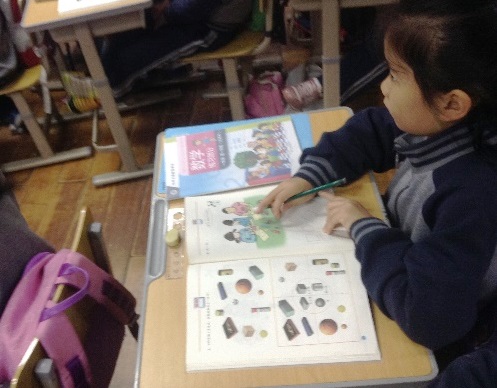
The children tried the joining up exercise on their sheets – see photo below. Once they had finished there was a class discussion about it, in particular the 8 + 7 calculation (as this was not one of the main teaching points today).
.jpg)
They identified three ways to solve this calculation.
8 + 7 + 1 (near doubles)
8 + 8 - 1 (near doubles)
8 + 2 + 5 (bridging)
Straight after the lesson we had a TRG style discussion with a group of maths teachers, including the teacher who had taught the lesson. I was curious as to the prior learning and subsequent learning of this class. We were told that this was their first lesson calculating over ten and as seen in the lesson, the focus was doubles and adding to 9. The next day the focus would be adding to 7 and 8 – a preview was seen in the extension question at the end of the lesson.
We are very much looking forward to more maths lessons tomorrow!


.png)
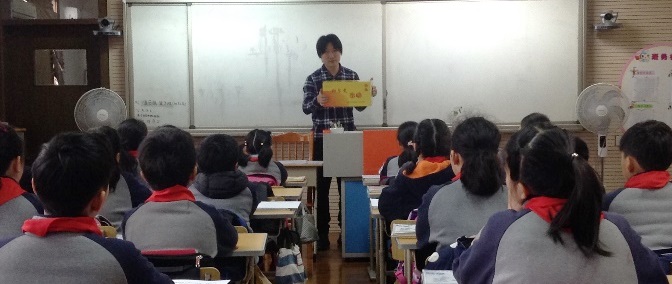
 Today’s lesson was a Grade 1 (Year 2) lesson on 3D shapes. The children had all brought bags of objects in from home as homework, which matched to the 3D shapes they were learning about (cubes, cuboids, spheres and cylinders). At the beginning of the lesson, the children were asked to name the different shapes on the board. This was the only prior knowledge they had of these shapes. They were able to name these shapes but had no understanding of what the characteristics of these shapes were.
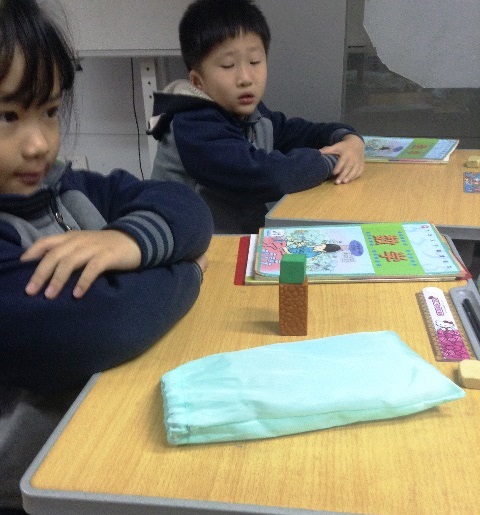
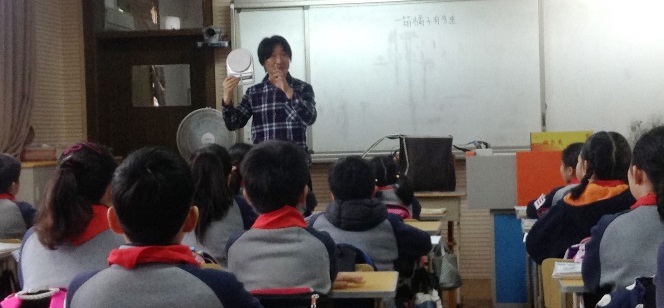
 At one stage, the teacher found a box which was very close to a cube in appearance but was in fact a cuboid. The discussion around this shape and why it was a cuboid and not a cube allowed the children to explore in real depth the characteristics of each shape
.jpg)
.jpg)
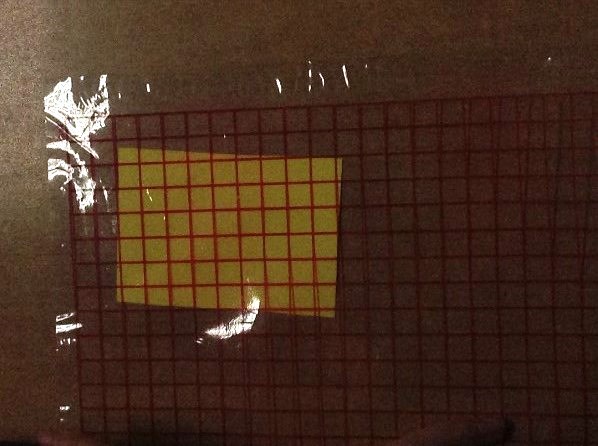
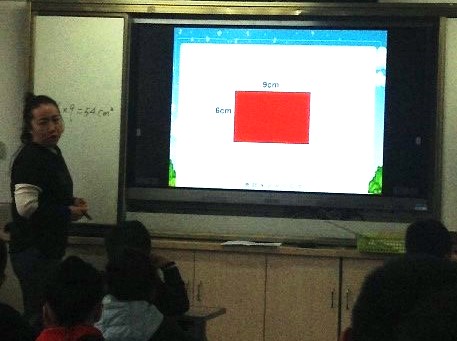
 The teacher pointed out that it took a long time to count each of the squares inside the shape (there were 54) and asked if they had any ideas about how they could find the area in a faster way. On child mentioned that there were 6 rows of 9 and another talked about 9 columns of 6. They were making the link that they could use multiplication to find the area of the shape and it was a lot faster than counting each of the squares individually. At this stage, the children knew that there were 54 squares but were not aware of the unit of measurement for area. The teacher discussed how area was measured in square centimetres and therefore the area of the shape was 54cm2.
.jpg)
.jpg)
.jpg) It was very interesting to see the Chinese take on a concept that many children struggle with in British education and we found many ideas to trial in our own classrooms.
It was very interesting to see the Chinese take on a concept that many children struggle with in British education and we found many ideas to trial in our own classrooms..jpg)
.jpg)
.jpg)
.jpg)

.jpg)
.jpg)
.jpg)
.jpg)
.jpg)
.jpg)
.jpg)
.jpg)